Nildesk Cloudinary Settings (Adding Files to Tickets)
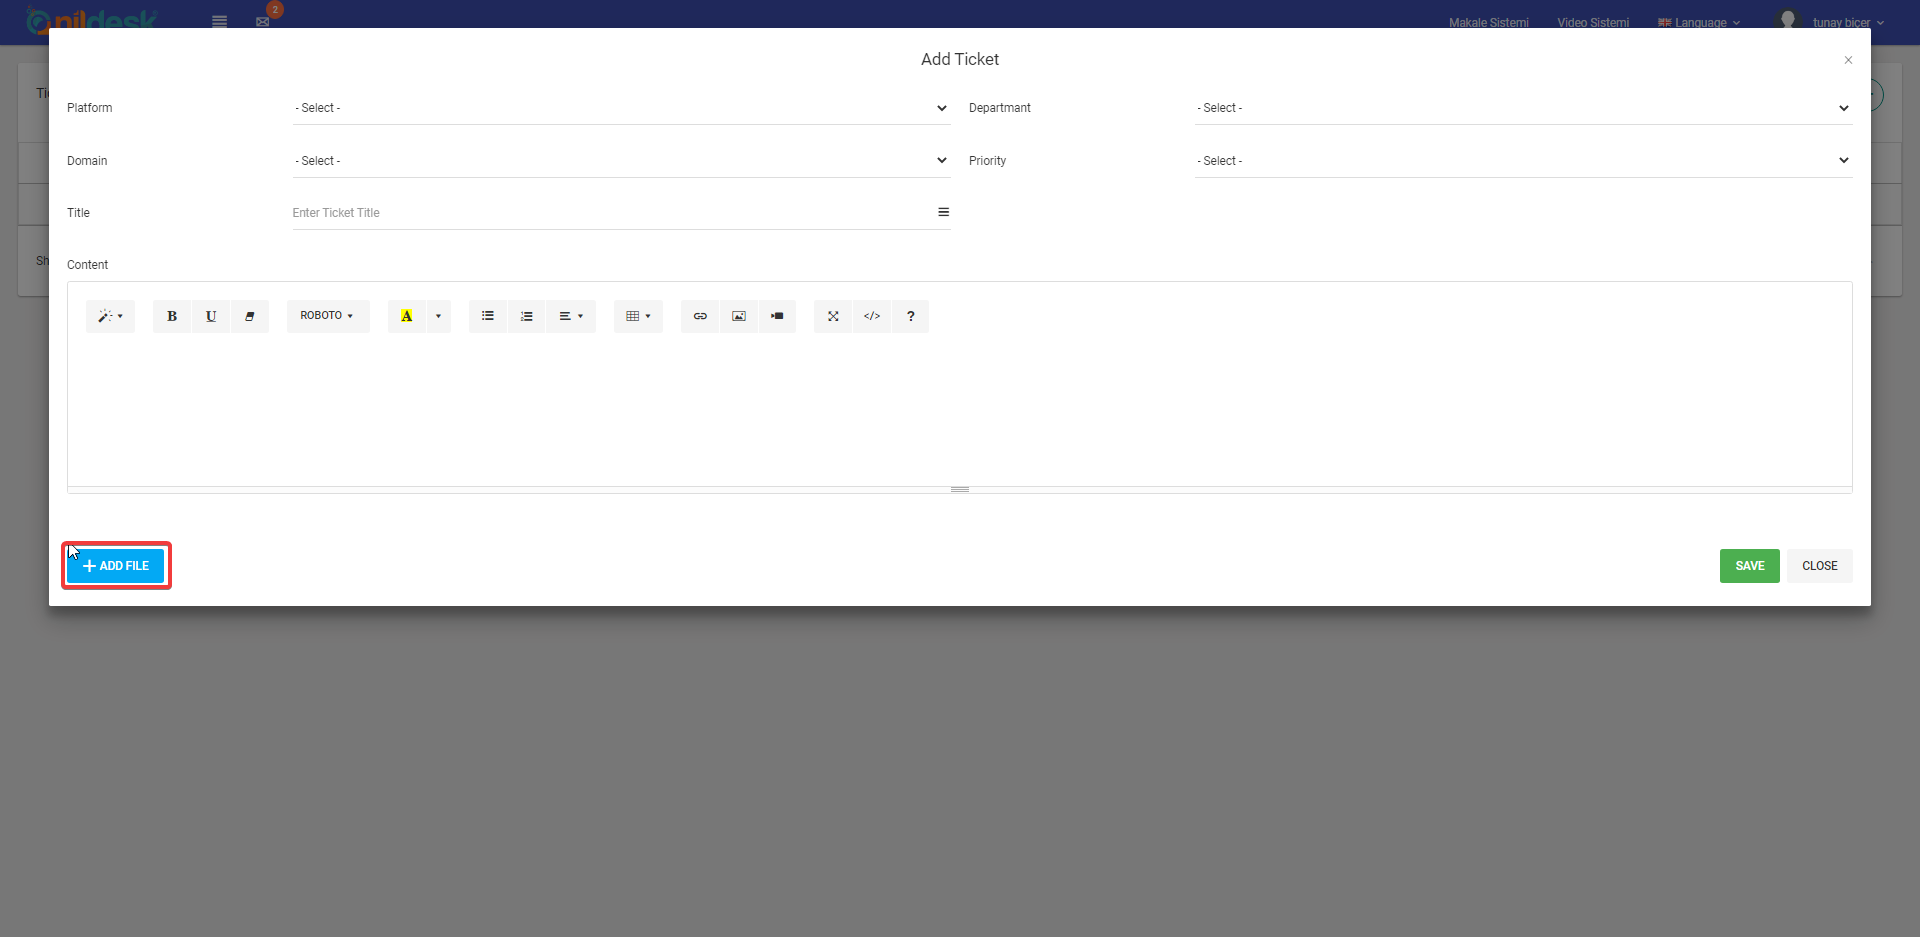
You can add images and files to your ticket that you created from Nildesk.
In order to send files through Nildesk, you need to have a Cloudinary account.
Registering to Cloudinary and Getting API informations
Please Click “SIGN UP FOR FREE” to create your own account from cloudinary.com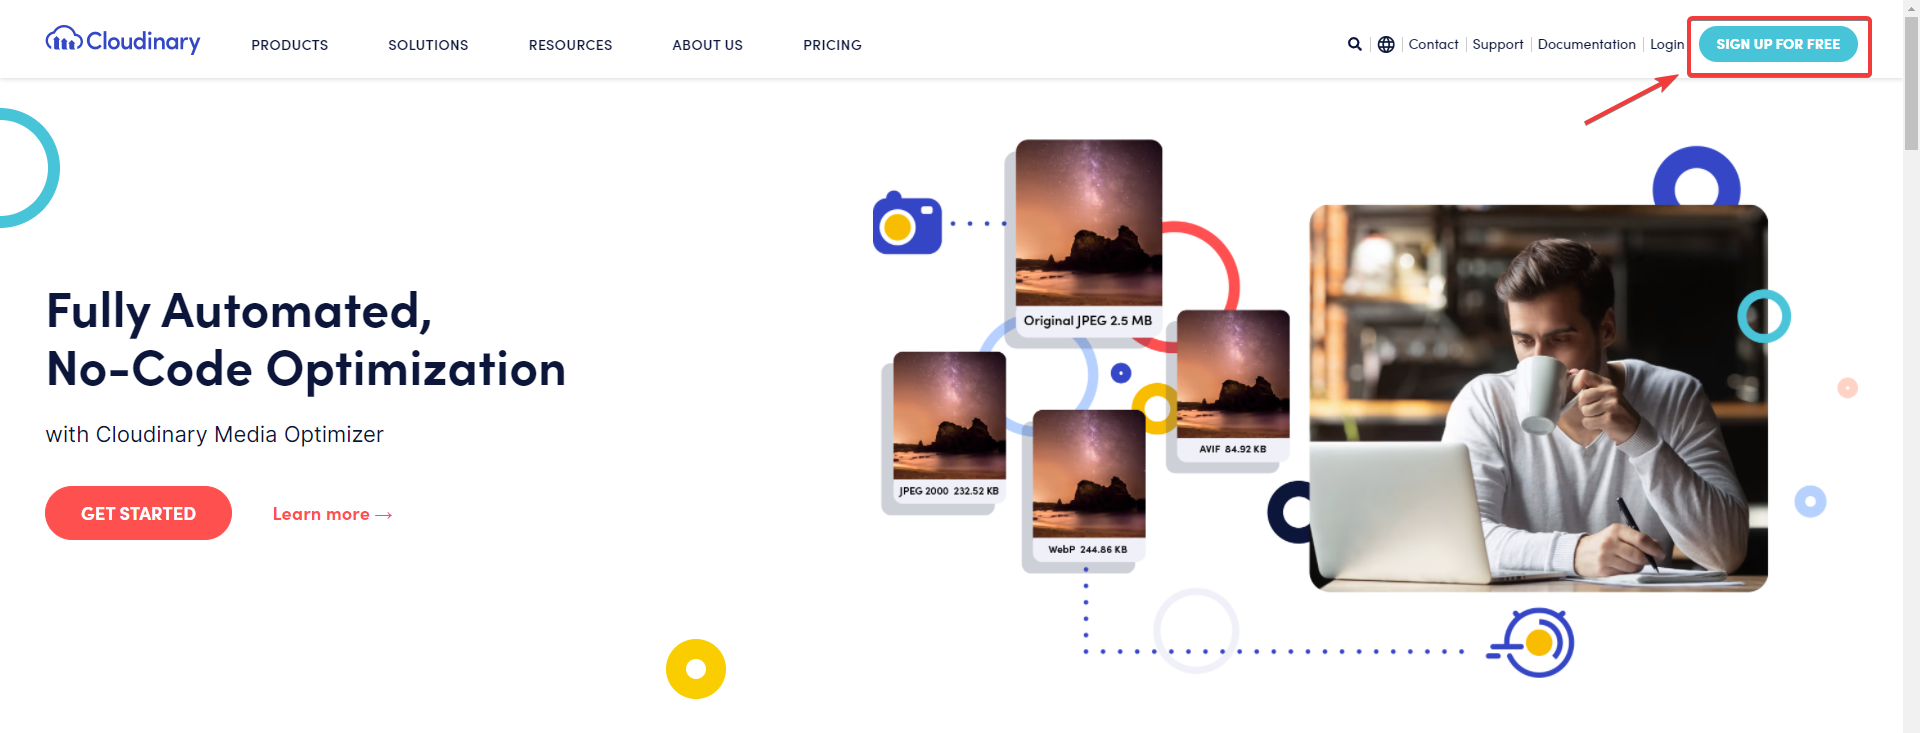
Please fill the registration form. For "Select a Product" field you can select "Media Optimizer For Performance And Delivery (Early Access)”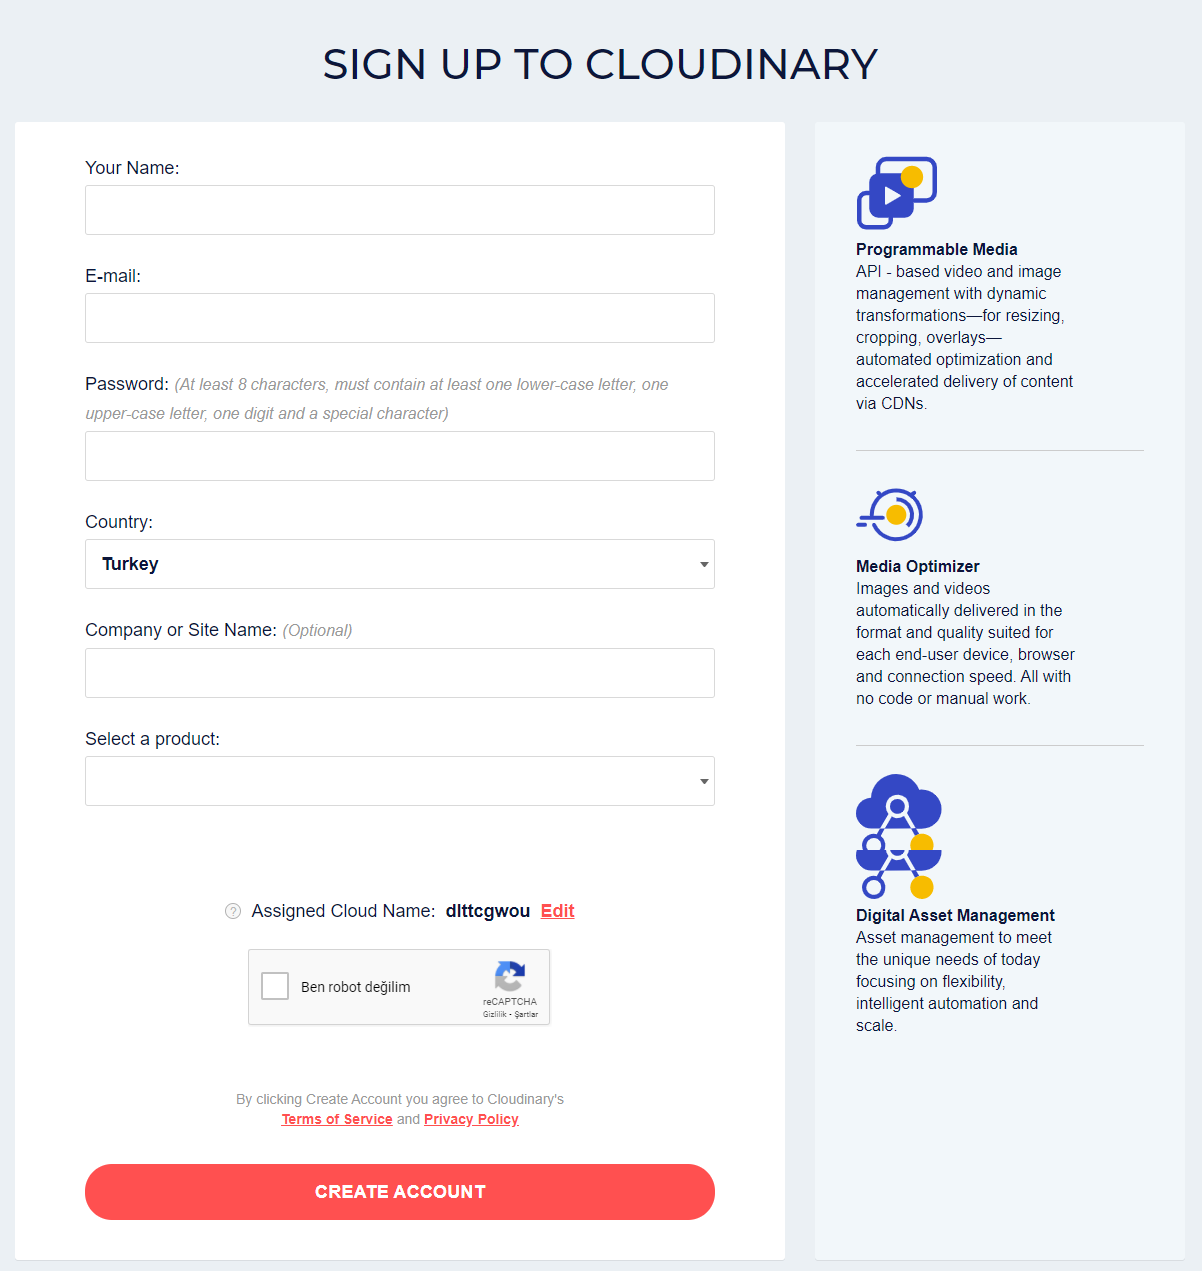
After you fill the form, you need to confirm your email address. You can login to your account by confirming the mail.
2-step completion screen will appear when you log in..
1. If you are only going to use Nildesk account on this account, you can select "E-Commerce Manager" then click "Continue"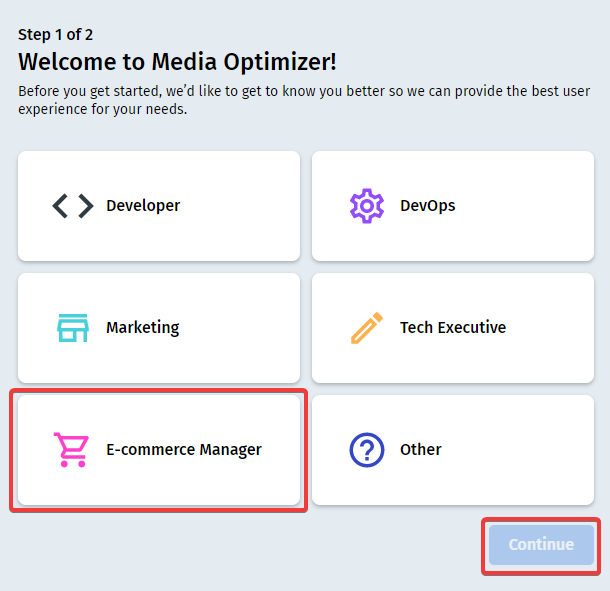
2. In this section, you will select the name and region that will shown in account url. You can change this section if you want. When you are done with this section click “Finish”.
When you are done with the Account Steps, you need to get API informations for Nildesk.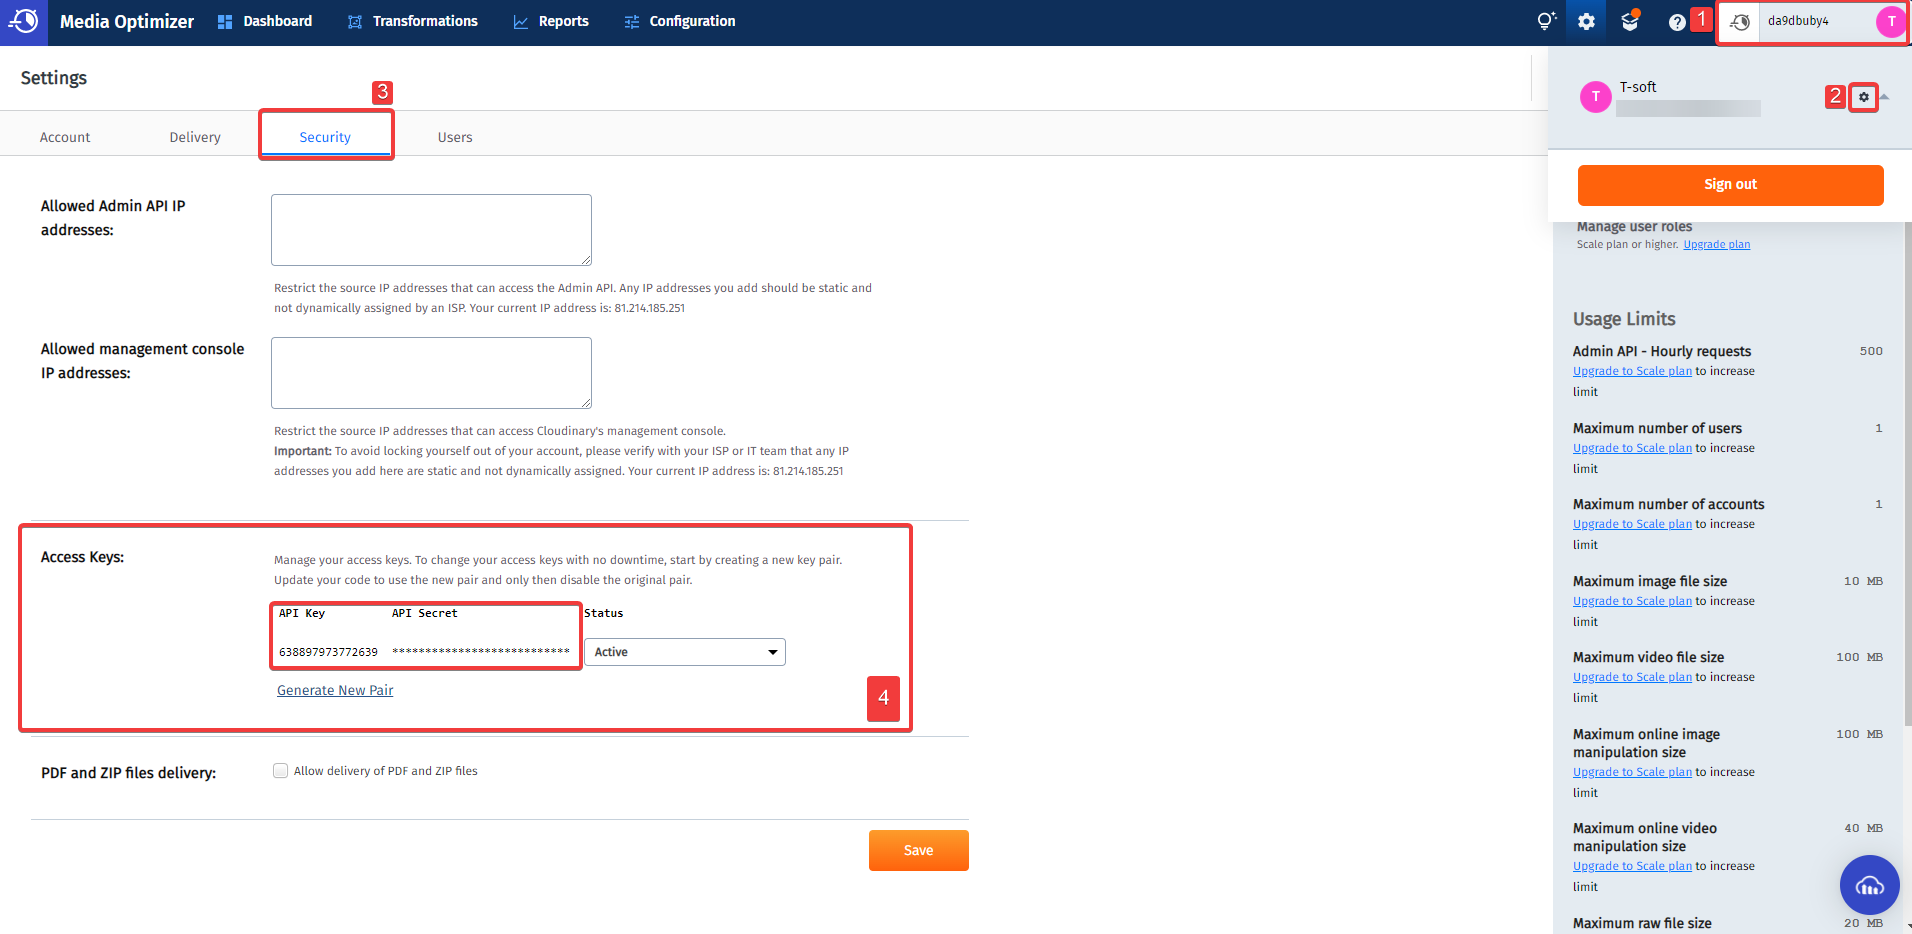
Entering Cloudinary Informations to Nildesk
You need to enter Cloudinary Account Informations to your nildesk account.
In order to access Nildesk Panel, go to “Parts > Ticket > My Ticket”.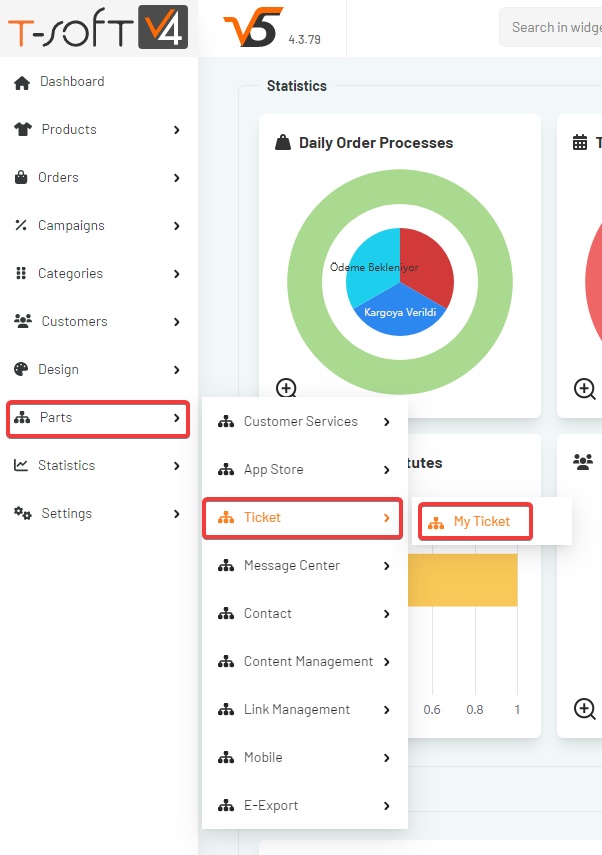
You can easily access Nildesk via clicking “Connect to Nildesk” button.
Please go to “My Profile” on Nildesk.
Enter your informations to “Cloudinary Settings” section.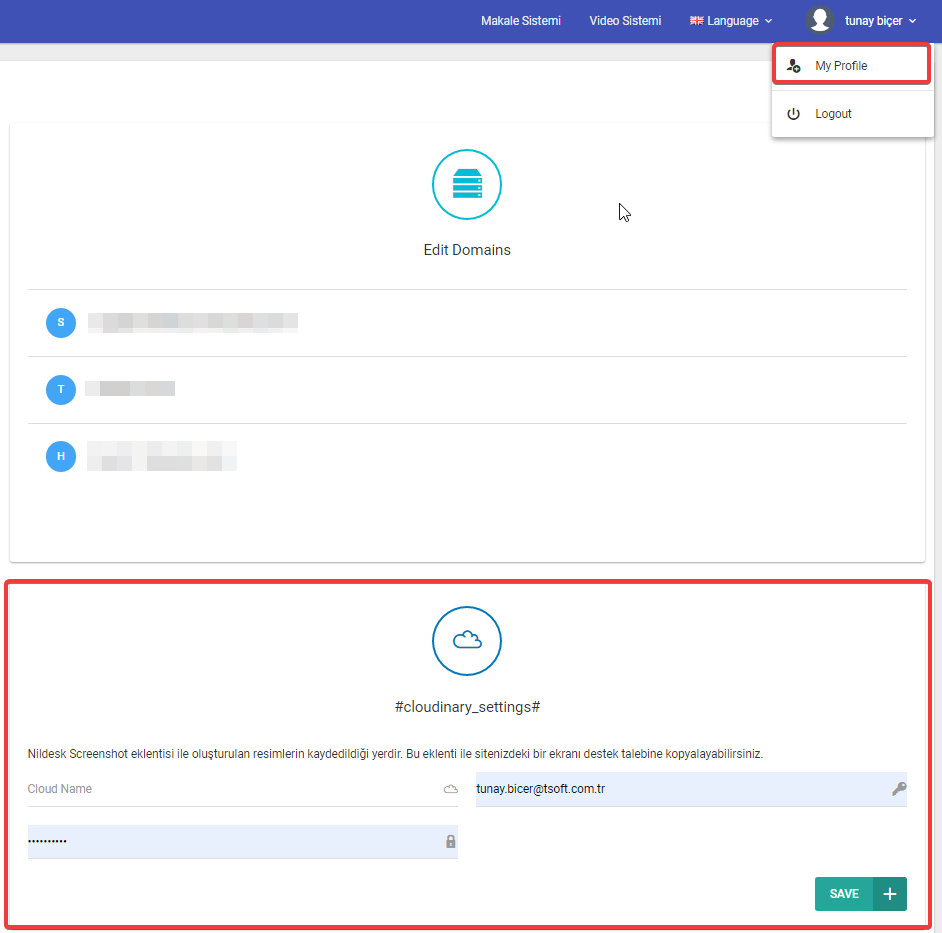
In the "Cloud Name" option, type the information that appears in the upper right corner when you enter the Cloudinary.
You can get "Api Key" and Api Secret" information from cloudinary account as shown above.![]()
After you are done with entering informations, You can click “Add File” button to add files and images.